
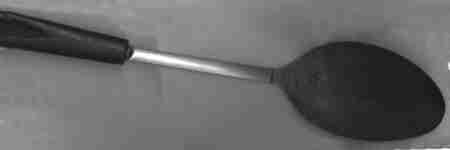
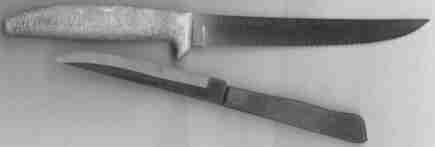

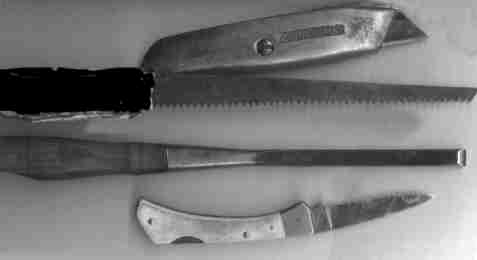
There's always a tool handy for carving pumpkins. Remember a sharp tool is safer than a dull one, because you don't need to apply as much pressure. These are wood working tools that we like to use when they are within easy reach. The long pointed blade is a reciprocating saw with tape wrapped around the blade for a make-shift handle. Also, always cut away from yourself. Your body should never be a tool bench. In other words imagine the path of your tools as it slips. If your other hand is in that imaginary path, move it now. (thank you). Just make sure to have your pumpkin stable so you don't have to hold it, and that you're always cutting away from your body.
Recently I discovered that clay sculpting tools can help out. I found mine
at a local crafts store.
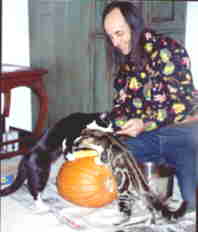
It's fun to carve pumpkins with children. First show them pictures of different
possible approaches. Would they like to make a face or a house? You'll have
to be the judge of what age your children can handle knives, but there's plenty
of stages for involvement. If you're letting them use steak knives at the table,
they're probably ready. But repeat to them, the safety tips mentioned above
- REPEATEDLY. Scooping out and sorting seeds for roasting. Put down newspapers.
This part is slimy. Get them to try different sketches on paper. Then they can
draw on the pumpkin with sharpies or magic markers. You can discuss which is
the positive and negative space. Typically. I carve and cut away, the inked
space. If you can't wash off the marker mistakes, then fine sandpaper may be
in order, though usually a light abrasive like dampened Bon Ami works fine.
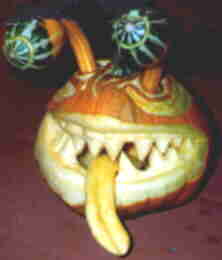
There's no wrong way to design your pumpkin and there's certainly no pumpkin
police telling you that you can't add-on for effect.
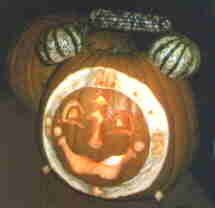
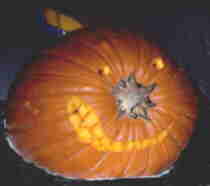
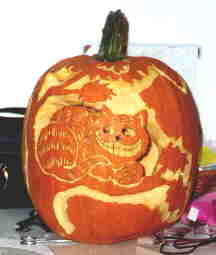
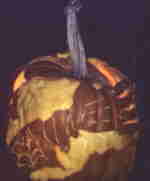
 On
the flip side of The Cheshire Cat Pumpkin, Flo of course carved just the smile.
It also would have been effective to color or paint the cat and just carve the
smile.
On
the flip side of The Cheshire Cat Pumpkin, Flo of course carved just the smile.
It also would have been effective to color or paint the cat and just carve the
smile.
About Patterns: People often ask me about patterns. We usually
manipulate images that I find online using graphics software. You can do the
same thing fairly cheaply with scissors and glue and your local copy shop to
help expand and shrink pictures. One of our contributors, Rick Chong succesfully
uses coloring books as a source for his designs.